安装环境
安装Vue前先安装node.js环境,直接到node.js官网下载自己系统对应版本的安装包安装。
使用npm安装Vue-cli,使用以下命令:
npm install vue-cli -g使用以下命令查看是否安装成功:
vue -v进入想要存放项目的文件夹,运行以下命令创建项目:
vue init webpack vueblog执行命令时,连续有几个配置项需要选择,通常都是直接回车,但是里面有一个‘ESLint’是代码规范,如果回车默认启用的话,代码不规范就会有大量提示,因此建议选择NO。
创建好项目包后,进入项目包安装依赖:
cd vueblog
npm install
用开发调试模式运行项目,查看到Vue首页:
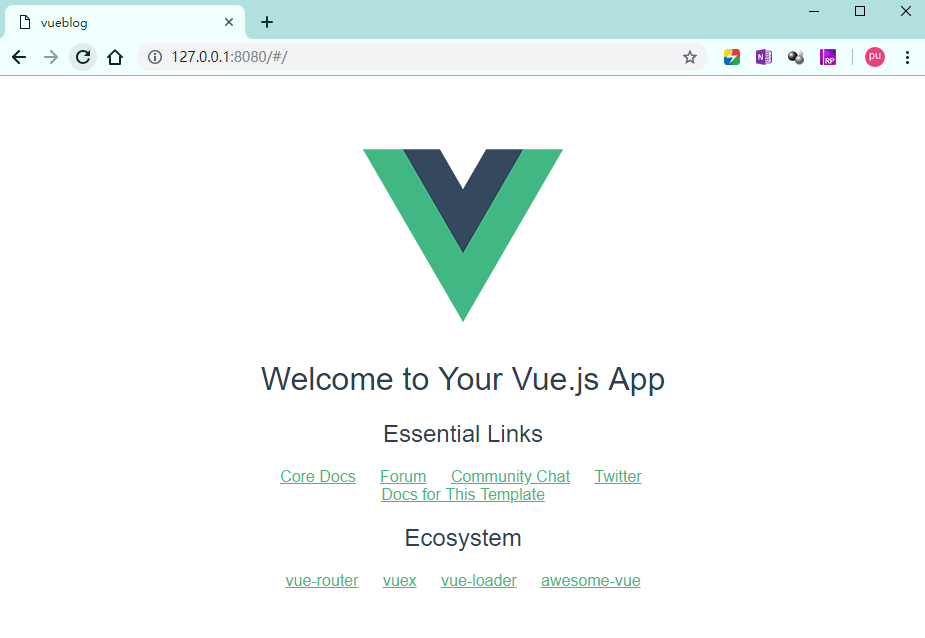
npm run dev在本机访问 http://127.0.0.1:8080 可以看到首页

另外,如果要内网机器都可以通过内网IP访问站点,可以修改 ./config/index.js 文件:
host:'0.0.0.0',项目结构理解
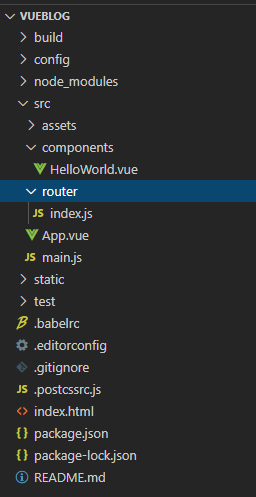
上述创建好的项目结构如下:

通常我们编写前端页面只需要在src文件夹里面增加内容,vue是组件化设计思路,每一个.vue文件都是一个单独的组件,总共包含三部分内容,以App.vue为例:
<template>
  <div id="app">
    <img src="./assets/logo.png">
    <router-view/>
  </div>
</template>

<script>
export default {
  name: 'App'
}
</script>

<style>
#app {
  font-family: 'Avenir', Helvetica, Arial, sans-serif;
  -webkit-font-smoothing: antialiased;
  -moz-osx-font-smoothing: grayscale;
  text-align: center;
  color: #2c3e50;
  margin-top: 60px;
}
</style>
template标签里面的内容是前端看到的页面结构,使用html的语法;id的值是这一块的标识,下面JS里面会对应id来做一些动作。img是这一组件里面第一个内容,router-view指向了router路由中path为‘/’的组件,查看代码可以看到是components/HelloWorld。
//router/index.js
import Vue from 'vue'
import Router from 'vue-router'
import HelloWorld from '@/components/HelloWorld'

Vue.use(Router)

export default new Router({
  routes: [
    {
      path: '/',
      name: 'HelloWorld',
      component: HelloWorld
    }
  ]
})
script标签里面是js脚本,name标记了脚本动作对应的界面。
style标签里面是css样式文件,#后面标记了样式对应的界面。
整个项目的逻辑是:./index.html是页面最基本的壳,里面标记处页面的body是id 为 app 的块,也就是App.vue里面的内容,而App.vue的app块下面,可以不断增加嵌套其他块,用来丰富页面的内容,例如通过router-view增加components/HelloWorld里面的内容到img下。
更多对项目架构的理解可以参考这篇文章:《零基础Vue入门学习记录》
创建并使用新组件
使用ElementUI
作为一个不熟悉前端三剑客的渣,对编写html和css有阴影,因此选择使用ElementUI来直接复制组件样式。
首先进入项目目录下载安装elementui:
npm install element-ui -save然后到./scr/main.js里面引入elementui并设置项目使用element的样式:
// The Vue build version to load with the `import` command
// (runtime-only or standalone) has been set in webpack.base.conf with an alias.
import Vue from 'vue'
//下面两行引入ElmentUI
import ElementUI from 'element-ui'
import 'element-ui/lib/theme-chalk/index.css'
import App from './App'
import router from './router'

Vue.config.productionTip = false

//启用ElementUI
Vue.use(ElementUI)

/* eslint-disable no-new */
new Vue({
  el: '#app',
  router,
  components: { App },
  template: '<App/>'
})
新建组件
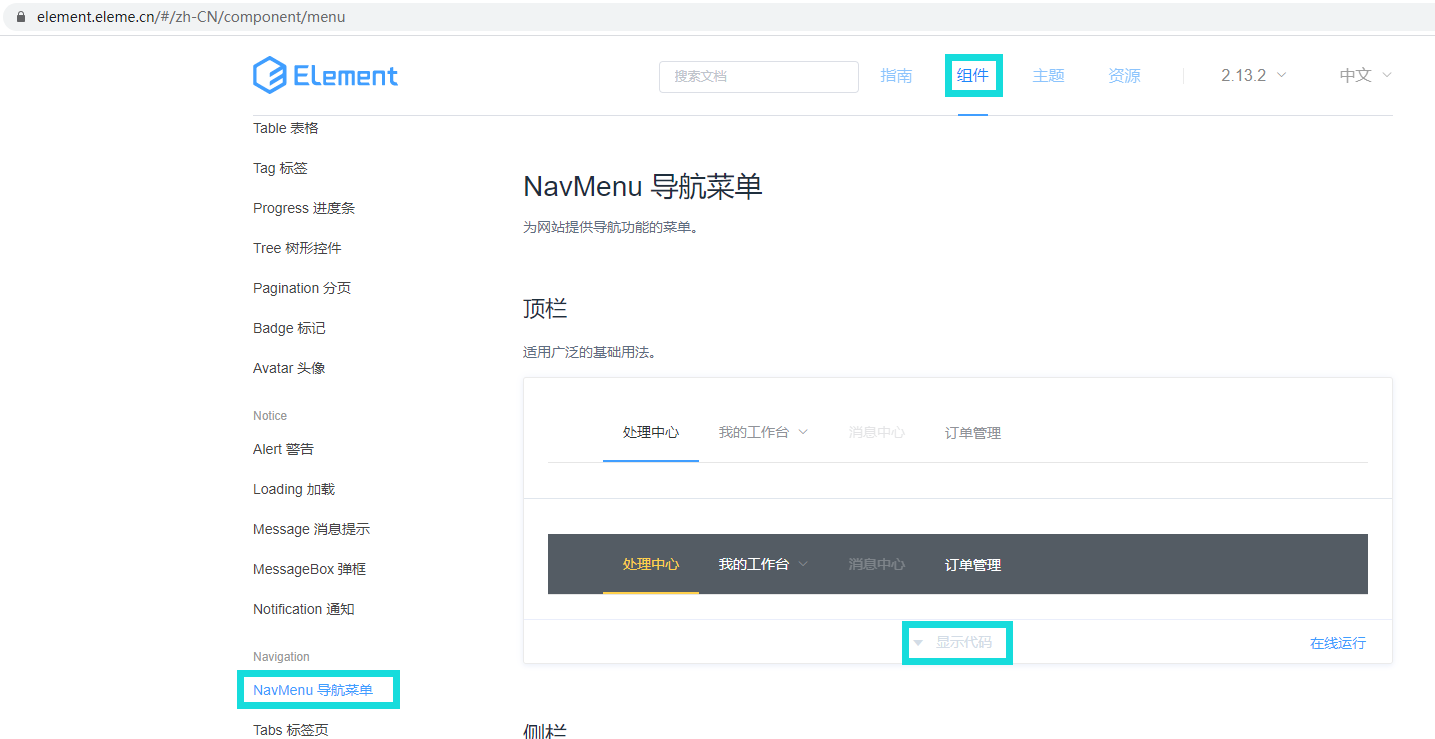
我们创建一个Blog页面的导航组件,进入./scr/components目录,新建Navbar.vue文件,并从Element官网组件库复制导航组件代码:

修改后Navbar.vue代码如下:
<template>
    <el-menu
        :default-active="activeIndex2"
        class="el-menu-demo"
        mode="horizontal"
        @select="handleSelect"
        background-color="#545c64"
        text-color="#fff"
        active-text-color="#ffd04b">
        <el-menu-item index="1">首页</el-menu-item>
        <el-menu-item index="2">标签</el-menu-item>
        <el-menu-item index="3">分类</el-menu-item>
        <el-menu-item index="4">归档</el-menu-item>
        <el-menu-item index="5">关于</el-menu-item>
        <el-menu-item index="6">留言板</el-menu-item>
        <el-menu-item index="7"><a href="https://sealdust.github.io" target="_blank">友情链接</a></el-menu-item>
    </el-menu>
</template>

<script>
  export default {
    data() {
      return {
        activeIndex2: '1'
      };
    },
    methods: {
      handleSelect(key, keyPath) {
        console.log(key, keyPath);
      }
    }
  }
</script>
引入嵌套组件
导航通常是放到页面最上面,这里我们需要把他放到App.vue的最上面,将一个组件嵌入到另一个组件总共有三个步骤:
- 在父级组件script中引入;
- 在父级组件script的export中添加引入的组件;
- 在template中适当位置添加代码块;
修改后的App.vue代码如下:
<template>
  <div id="app">
    <mynavbar></mynavbar>
    <img src="./assets/logo.png">
    <router-view/>
  </div>
</template>

<script>
import mynavbar from './components/Navbar.vue';

export default {
  name: 'App',
  components:{
    mynavbar
  }
}
</script>

<style>
#app {
  font-family: 'Avenir', Helvetica, Arial, sans-serif;
  -webkit-font-smoothing: antialiased;
  -moz-osx-font-smoothing: grayscale;
  text-align: center;
  color: #2c3e50;
  margin-top: 0px;
}
</style>
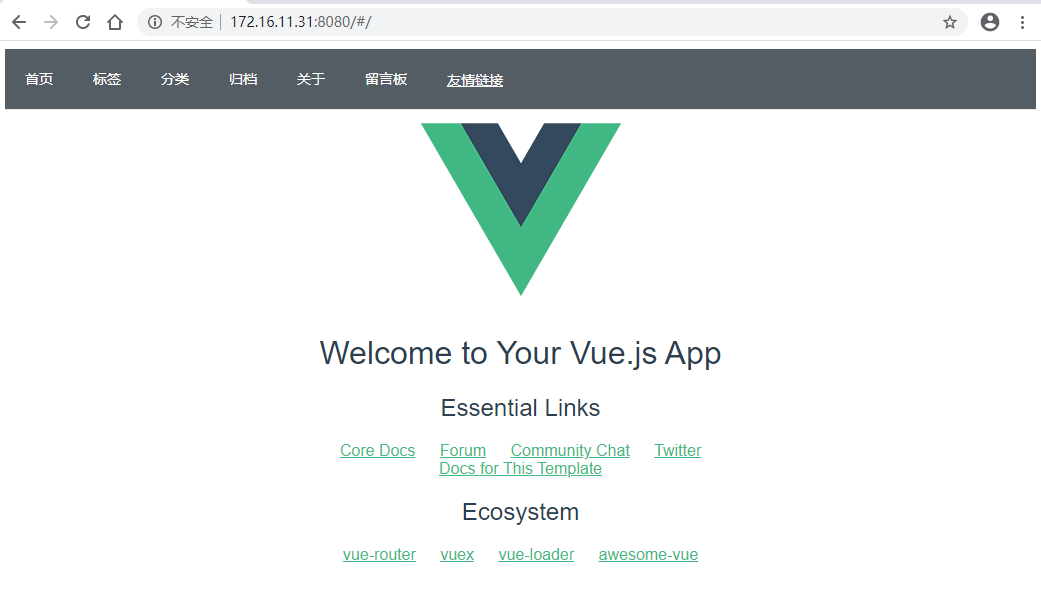
重新访问页面,可以看到导航栏已经加上:


